 | ||||||||||||
| Before |
 |
| After |
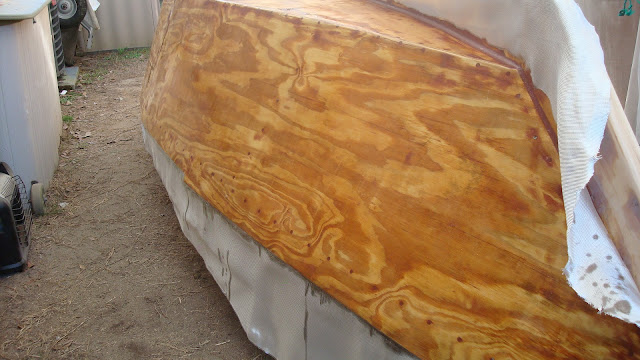
As you can see, I also rounded over the keel. All of the sharp corners on the boat need to be rounded for it to glide through the water smoothly. At the same time, I want the keel and chine to bite to help the boat to track well. It needs to be rounded over but not too much so.
 |
| Rounded but Not Too Much |
I'd round it over some and go do something else. Then when I was working on another part I'd go back to the keel and work on the shape some more. I think I'll probably be working on it until the first coat of primer is applied.
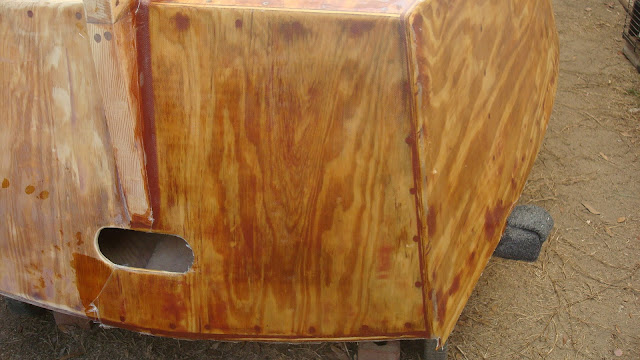
The next thing I did was work on filling all of the screw holes and filling in where the panels meet. I also needed to fill in where the bottom meets the keel which needed to be rounded as well. I used epoxy with microballoons and wood flower. I mixed it up to a putty consistency and use a putty knife to butter it in. Here is a picture with one side filled in and sanded and the other side just filled in.
 | ||
| Half Done |
After filling everything in and sanding it down, I used a large plastic paddle like thing to put a coat of the thickened epoxy all over the sides and bottom. Then I spent a lot of time sanding most of it off. This filled in any voids in the surface of the wood and helped to make sure I have a solid, flat surface for the fiberglass to bed onto. I spent a bunch of weekends filling in with the epoxy and sanding it off to get everything flat. Here is a picture that gives you a little idea of what it was like. The epoxy is red from the microballoons and that little pile on the ground is not a mistake by Lacey. It's a glob of the thickened epoxy.
 | ||
| Filled In |
Finally, I said enough is enough and it was time to start laying down the fiberglass. I rolled it out onto one side of the hull and smoothed it out and used push pins to help keep it in place.
 |
| Fiberglassing the Hull |
 |
| Smoothed Out |
Then I mixed up some unthickened epoxy to wet it out. I made several small batches that added up to almost 60 ounces. My main goal is to just make sure that the fiberglass was flat against the wood by soaking it through with epoxy. Here is what it looks like after I applied the epoxy.
 |
| Wetted Out |
 |
| Wetted Fiberglass Bow |
 |
| Wetted Fiberglass Stern |
After that, I trimmed the excess fiberglass off.
 |
| Trimmed Up |
 |
| Trimmed Up Stern |
Here are a couple of pictures that show the weave of the fiberglass which I will fill in with subsequent coats.
 | |
| Port Fiberglass |
 |
| Fiberglass Weave |
I was all set to do the other side the following day but it was windy as hell. I didn't want a bunch of stuff to blow onto the sticky epoxy. It would have been a great day to be out sailing though.
I wrote earlier about wanting to make my own spars using the birdsmouth method and I thought it would be good to have a little experience before doing the real thing. I have a shade sail that I needed some new posts for so I gave it a try. I got some eight foot 1 X 2's for seventy-five cents each and used eight of them to make a spar that was eight feet long. I inserted a two and a half foot piece of pressure treated on each end with twelve inches sticking out and rounded them over. Then I cut the spar in half. I mounted them using hose claps but made some wood pieces for decoration that I thought looked like mast brackets and kinda salty. I'm pleased with how they turned out.
 |
| Sail Shade Mast |
 |
| Sail Shade Mast |
This gives you an idea of how the spars will look for the boat. They seem to be very strong.
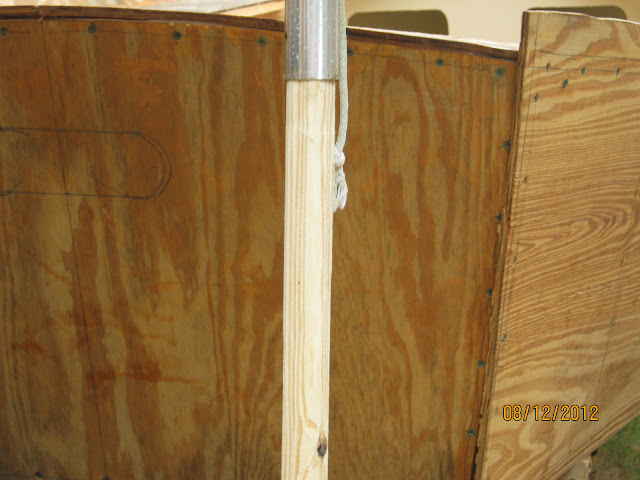
Another thought I have is making a solid bowsprit. I made this contraption to use my router to turn square piece of wood into a round spar. I needed a new support pole for an umbrella I have so I thought I would give it a shot. Here are some pictures of that.
 |
| Router Lathe |
 |
| Router Lathe Sled |
 |
| Routed Stick |
I have to turn the crank while pushing the sled along the length of the board. I did it in several passes, taking a little off on each pass. It turned out pretty good but I am still unsure whether I'll use it for the boat spar or not. The bowsprit will be a little thicker than the umbrella pole.