Tuesday, October 11, 2011

No Idea How She Held The Saw!!


Now that I have the decks all cut out it's time to make the bulkheads. I made the transom first by measuring out my lines. The top is curved so I put nails at the top of each edge and one in the middle.


Transom Lofting


The curve was too severe for a batten so I clamped a flexible piece of metal to the nails.


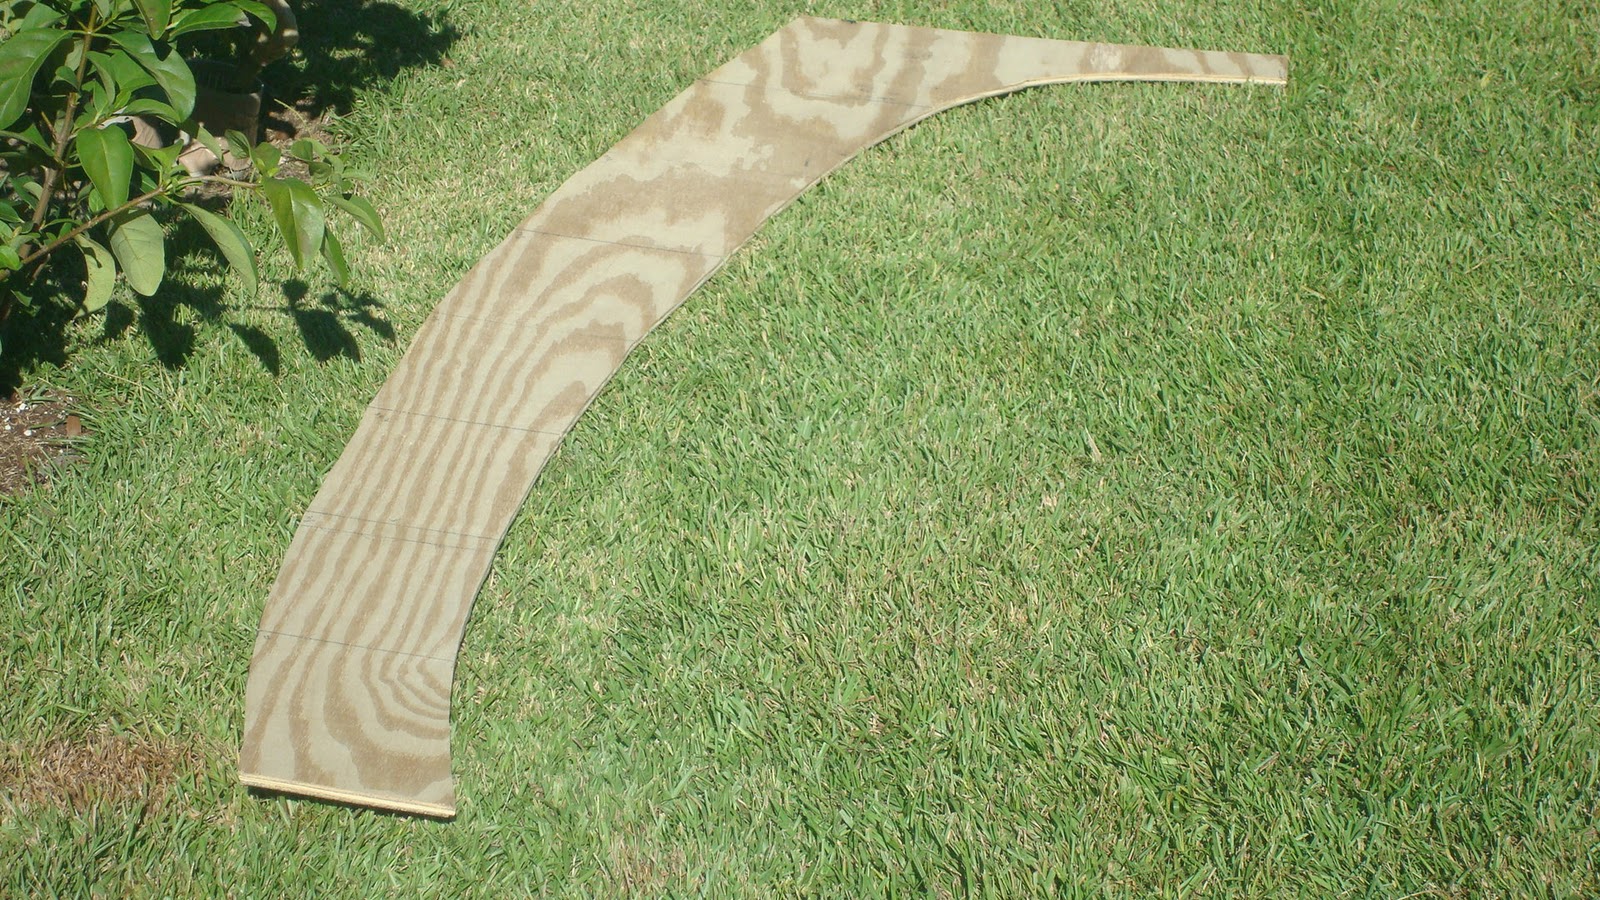
Then I lofted the line and made the cuts. Here is what it ended up looking like.


Transom


Some boats don't even have a transom but it's pretty important on my boat. The rudder is attached to it and it's structural because it ties the ends of both decks and the side panels together. Not to mention it helps to keep the water on the outside of the boat. Three very important attributes.


Next came the forward bulkhead which has two access holes in it. The mast box will end up against the middle of it and I'll have a little covered stowage space between it and the bow.


Forward Bulkhead


And finally came the lazarette. It has one big hole in it which the tiller will pass through.


Lazarette


Here are all three of them lined up. It kind of surprised me how small the transom is compared to the bulkheads. I hope I measured it right! I checked the measurements at least five times before I cut it out and then I checked them again after I cut it out.


Vertical Pieces


I had been talking about needing to make some wheels to go on a frame that I will use to wheel the boat around once I start putting all of these parts together. Lacey must have been listening because the other day I came home and she was waiting out front for me with these.


Smart Ass Dog


You didn't here it from me, but she was tough to live with the rest of the day because she was quite proud of herself and acting kinda cocky.

Tuesday, October 4, 2011

This Is Where I Draw The Line(s)

After the keel, I lofted and cut out the hull bottom.


Hull Bottom Cutouts


Looks kind of small doesn't it? It gets bigger as the boat gets taller.

The way I loft the hull bottom is to draw a line down the center of the plywood. Then I mark perpendicular station lines every 10 1/2". I mark two points on each station line by measuring out a certain distance on each side of the center line. Then I put a nail at each point far enough in to just hold the nail in the wood. I use a batten that I ripped from 1 X 6 stock earlier and push it against the nails. Since I'm doing this by myself and I have to push hard to make some of the curves, I use clamps at every nail to hold the batten against them. Then I draw a line against the batten between each nail and when I remove the batten and nails it leaves the shape of the hull drawn on the plywood. I just cut along each line. The boat flairs out from the hull bottom 23 degrees on each side so I make the cuts with my saw set at a 23 degree angle. It's real easy to make a mistake by measuring the wrong distance or angling the cut the wrong way. I measure everything about four or five times and then I check all the measurements again. I stand there with the saw in my hand just looking at the wood for a couple of minutes before I start cutting. I didn't take any pictures of this process because I really had to concentrate on what I was doing and I happen to be chewing gum at the time. Here is a picture that is a little closer and if you look hard you can see the lines I drew on the wood.

Hull Bottom Lofting Lines

Now I need to attach the two pieces together and the battens to the edges. I start the screws into the wood the same way I did on the keel every three inches and a set distance in from the sides.

Hull Bottom Screws


I use a 1 X 4 to join the two pieces together and start the batten at the bow screwing and gluing as I go. Here is the finished product


Hull Bottom Glued and Screwed

Hull Bottom

It's actually upside down in these pictures because I screw the screws in from what will be the outside of the hull. This will be the only thing between me and the water. I sure hope I used enough glue!


Next I start on the top deck. I use the same process, drawing a reference line and station lines, measuring out the correct distance and angling all the outside cuts. It's a little different because I measure the two points out on the same side of the reference line. There are a total of five pieces for the deck. Here are pictures of each piece and how they fit together.

Deck Cutouts

That gets you all caught up to where I am today. I've been doing most all of the work on the weekends and I'm pretty happy with my progress over the last month. Each day I plan out what I want to get done but it usually takes much longer than I ever imagined to make each part. The routine is that I usually read through the plans a few times, watch the chapter of the video that has the part I'm building once or twice, then read along as I'm watching the video. I go outside and get everything ready and get started. I make about twenty trips to the shed to get the tools I need. I check my measurements and recheck them. Then I fix the ones I got wrong and check them a couple of more times. Maybe I go back inside to watch the video again. While I'm there I might as well make a sandwich and sit down to see what game is on tv while I eat. Then I get involved in the game and just have to watch until it's decided. Go back outside and figure out where I left off. Then go back inside to watch the video again because I forgot what I saw before eating lunch. Once I get all the pieces marked off and cut I'm ready to call it a day but I have to make another 20 trips to the shed to put the tools back up. What I think will be a two hour job ends up taking all day. But I'm having fun.


One day I decided that I wanted to sit in the rocker on the front porch and whittle so I got my knife out and went to town on that 2 X 4 that I'm using for my tiller handle.

Tiller

I still have a little more work to do on it but it fits my hand well.