Now that the boat was all painted, I needed to flip it over and start working on the topsides again. Since I shouldn't need to do anything else to the bottom of the hull, I figured it would be good to go ahead and put it on the trailer. The boat probably weighs almost two hundred pounds now with all the coats of epoxy and paint I put on it. I knew I couldn't just manhandle it onto the trailer without messing up the paint job. I could have gone knocking on doors to round up a couple of people to help me turn it over and put it on the trailer. Also, Nic had offered to help me when Debbie posted about it on Facebook. In the end, I guess I am just a little too independent for my own good and saw it as a challenge to figure out how I could flip it myself.
At first, I thought I might build a couple of "D" shaped frames around it made of 2 X 4's. I figured that if I made the D's big and then used other 2 X 4's to span the D against the hull to keep it from shifting around, I could roll it over. It would have looked like a big D with a V inside of it. The round part of the D would be segmented so I could take it a little at a time. It probably would have worked pretty good but I was concerned about the boat still shifting some against the 2 X 4's and rubbing the paint off.
I had already purchased a 2 X 12 that is sixteen feet long. I'll cut it up into a bunch of skinny sticks to use to make my trim pieces and spars. I wanted to buy the biggest and longest board I could find which gives me a lot of quartersawn wood with fewer knots. I figured I could use that board to span between a couple of A frames to make a lift to elevate the boat so that it could spin around freely. Here's what it looked like.
 |
| Boat Flipping Jig |
Then, I had to figure out two attachment points to connect some ratcheted straps to the boat from the overhead beam. The trick was that I didn't want the hooks from the strap to rub against the hull. The front would be easy enough to use the hole I had made in the keel. I tied up a loop of rope and passed the loop through the hole with the knot keeping it from going all the way through. For the back end, I made a sandwich of two 2 X 4's and some plywood to clamp tightly into the hole I had made in the transom for the tiller. Here is what it looked like.
 |
| Wood Sandwich |
I used a couple of 3 1/2" screws to hold it all together. As you can see, I cut a square hole in the middle. Then I cut a stick about 3' long and square so that it fit in the hole tightly and stuck out about a foot or so. Next I pushed the boat out under the lift.
 |
| Ready to go |
I hooked on the straps and cranked it up. Here it is before and after. The way I had the rope rigged on the front made it automatically want to spin around right side up as I ratcheted it.
 |
| Before |
 |
| After |
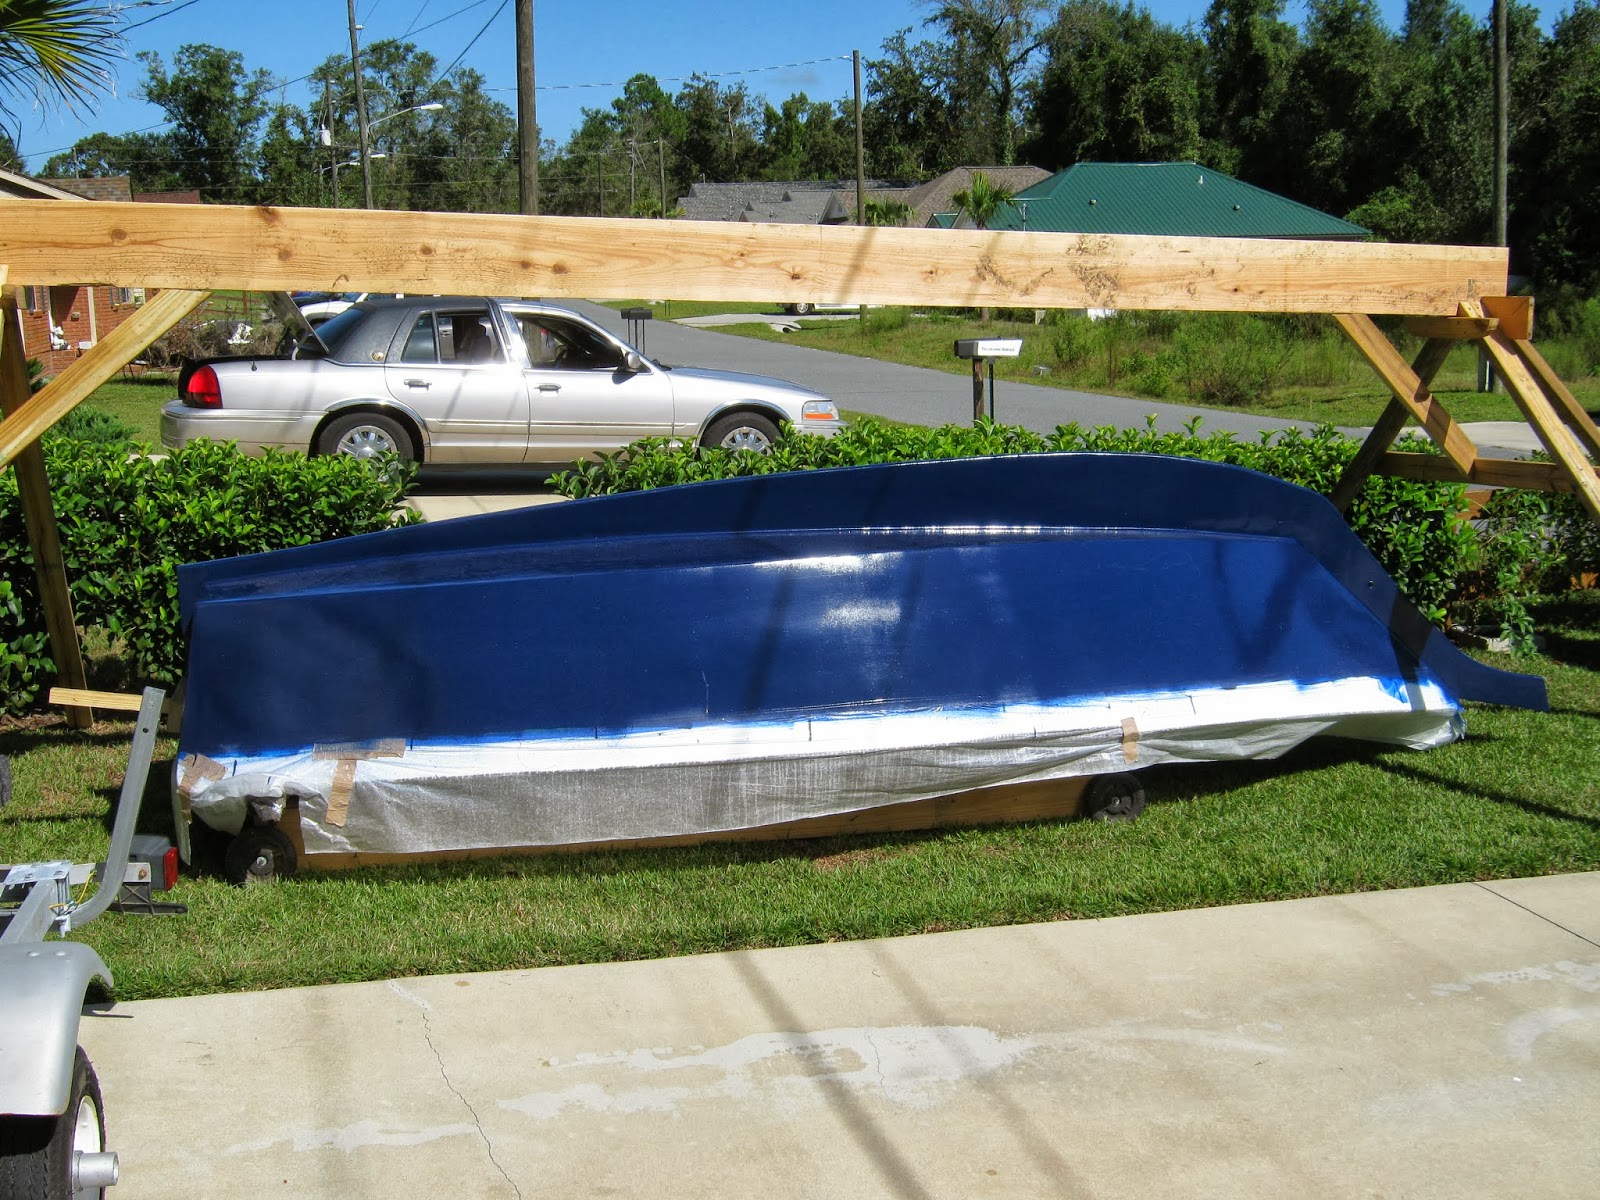
I took the lift apart and cranked the boat up on to the magic tilt trailer.
 |
| New Home |
 |
| On the Trailer |
It's been awhile since I've seen the boat right side up. I'm pleased with how it looks on the trailer. I think I'll take a moment or two to admire it......AHHHH.
Times up! Back to Work!
And now, as promised here is the cockpit with the seat backs installed. See, I really did make them.
 |
| Cockpit |
 |
| Starboard Seat |
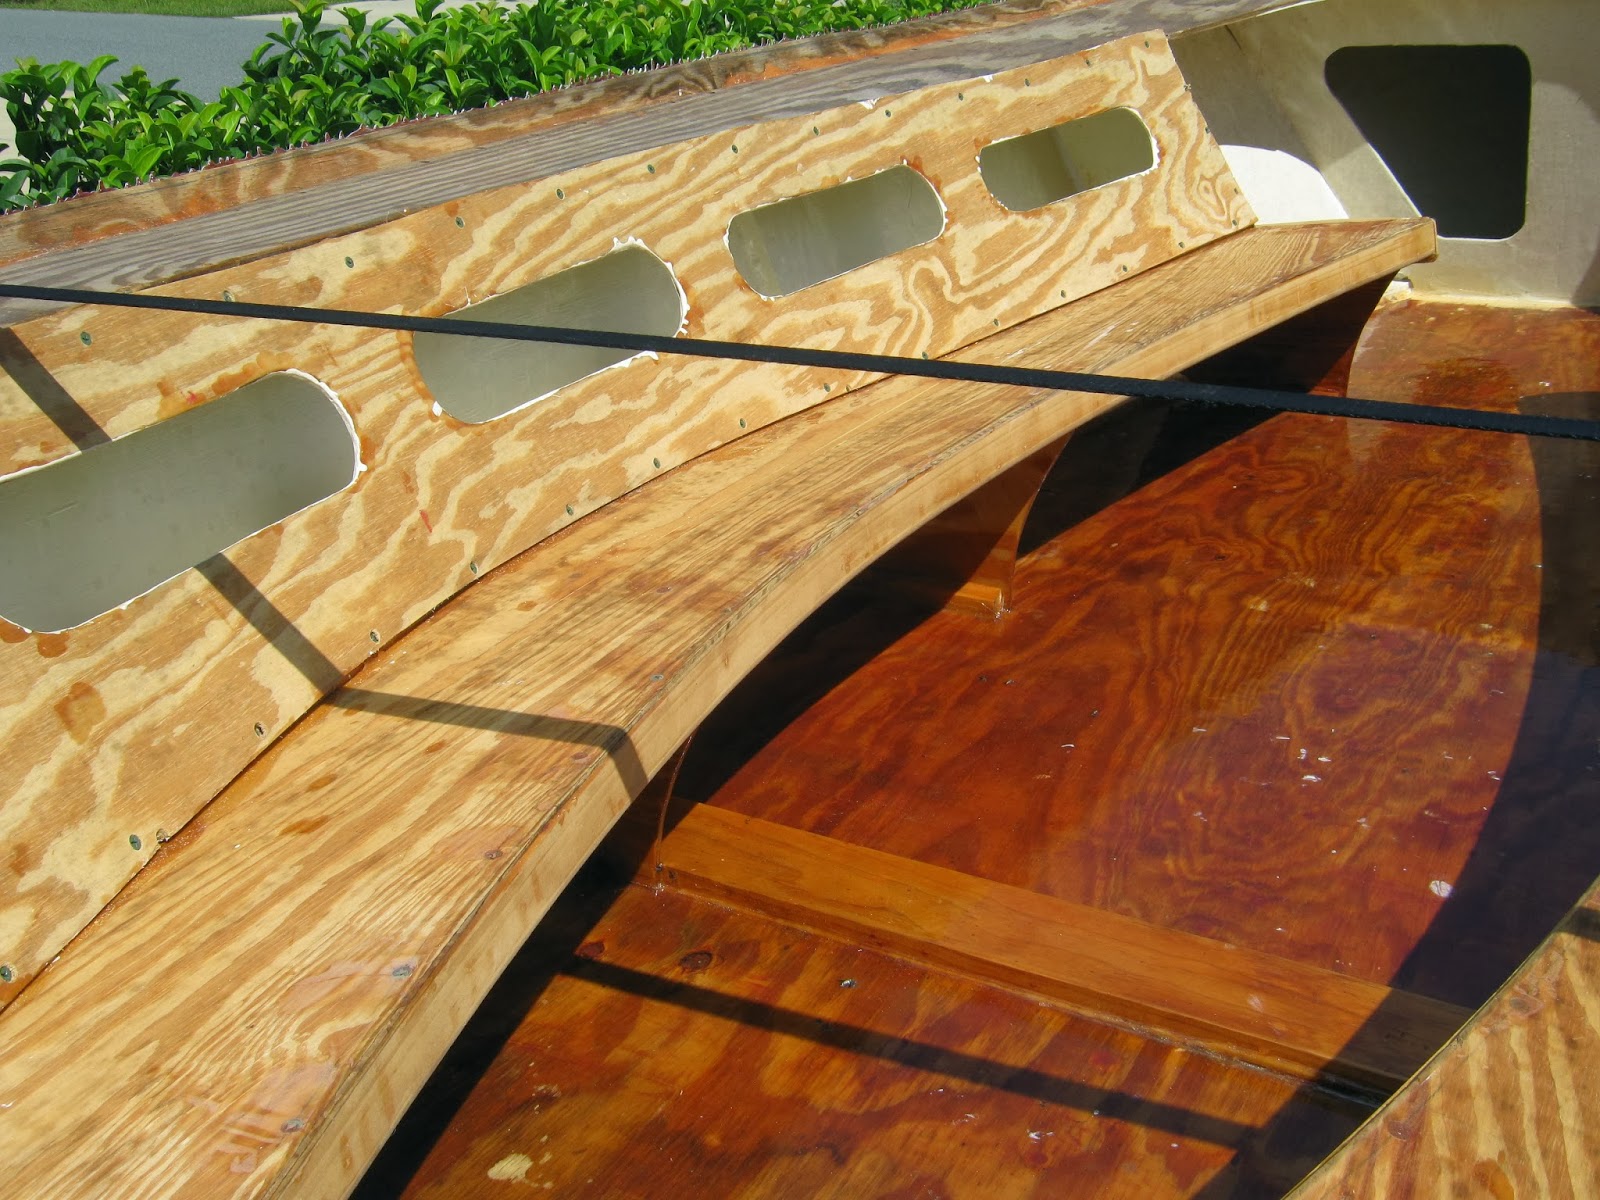 |
| Port Seat |
No way around it. I see some more sanding in my future.


